14. その他設定
14.1. SNMPエージェントを使用する
SNMPエージェント機能を使用して、SNMPマネージャーによりMIB情報とトラップを取得できるように設定します。

設定
本装置の設定
Router# configure
Router(config)# hostname my-router
my-router(config)# snmp-agent view mib-view 1.3.6.1.2.1
my-router(config)# snmp-agent ip trap-source GigaEthernet2.0
my-router(config)# snmp-agent ip community sample-comu view mib-view
my-router(config)# snmp-agent ip host 192.168.0.1 sample-comu version 2
my-router(config)# snmp-agent contact my-name
my-router(config)# snmp-agent location my-room
my-router(config)# interface GigaEthernet2.0
my-router(config-GigaEthernet2.0)# ip address 192.168.0.254/24
my-router(config-GigaEthernet2.0)# snmp-agent ip enable
my-router(config-GigaEthernet2.0)# no shutdown
my-router(config-GigaEthernet2.0)# exit
my-router(config)#
解説
hostname my-router
本装置のホスト名を設定します。
ここで設定した文字列は、System MIBのsysName設定値になります。
sysNameには、一般的に管理のために付けられた本装置の名前を記入します。
snmp-agent view mib-view 1.3.6.1.2.1
SNMPマネージャーが取得できるMIB情報を限定するときに本コマンドを使用します。
本例の場合、
1.3.6.1.2.1(MIBⅡ) のみ取得可能になります。snmp-agent ip trap-source GigaEthernet2.0
トラップ/メッセージの送信元インタフェースを設定します。
snmp-agent ip community sample-comu view mib-view
SNMPコミュニティー名 sample-comu と、MIBビューの設定( MIBⅡのみ )を行います。
snmp-agent ip host 192.168.0.1 sample-comu version 2
トラップ/メッセージの宛先IPアドレスを設定します。
snmp-agent contact my-name
System MIB(1.3.6.1.2.1.1)で取得するsysContactの値を文字列で設定します。
sysContactには、一般的に本装置を管理する人の名前や連絡先を記入します。
snmp-agent location my-room
System MIBで取得するsysLocationの値を文字列で設定します。
sysLocationには、一般的に本装置が設定されている物理的な場所を記入します。
interface GigaEthernet2.0
  snmp-agent ip enable
SNMPエージェント機能を有効化します。
14.2. syslogサーバーにログを送信する
syslogサーバーに取得したログを送信します。
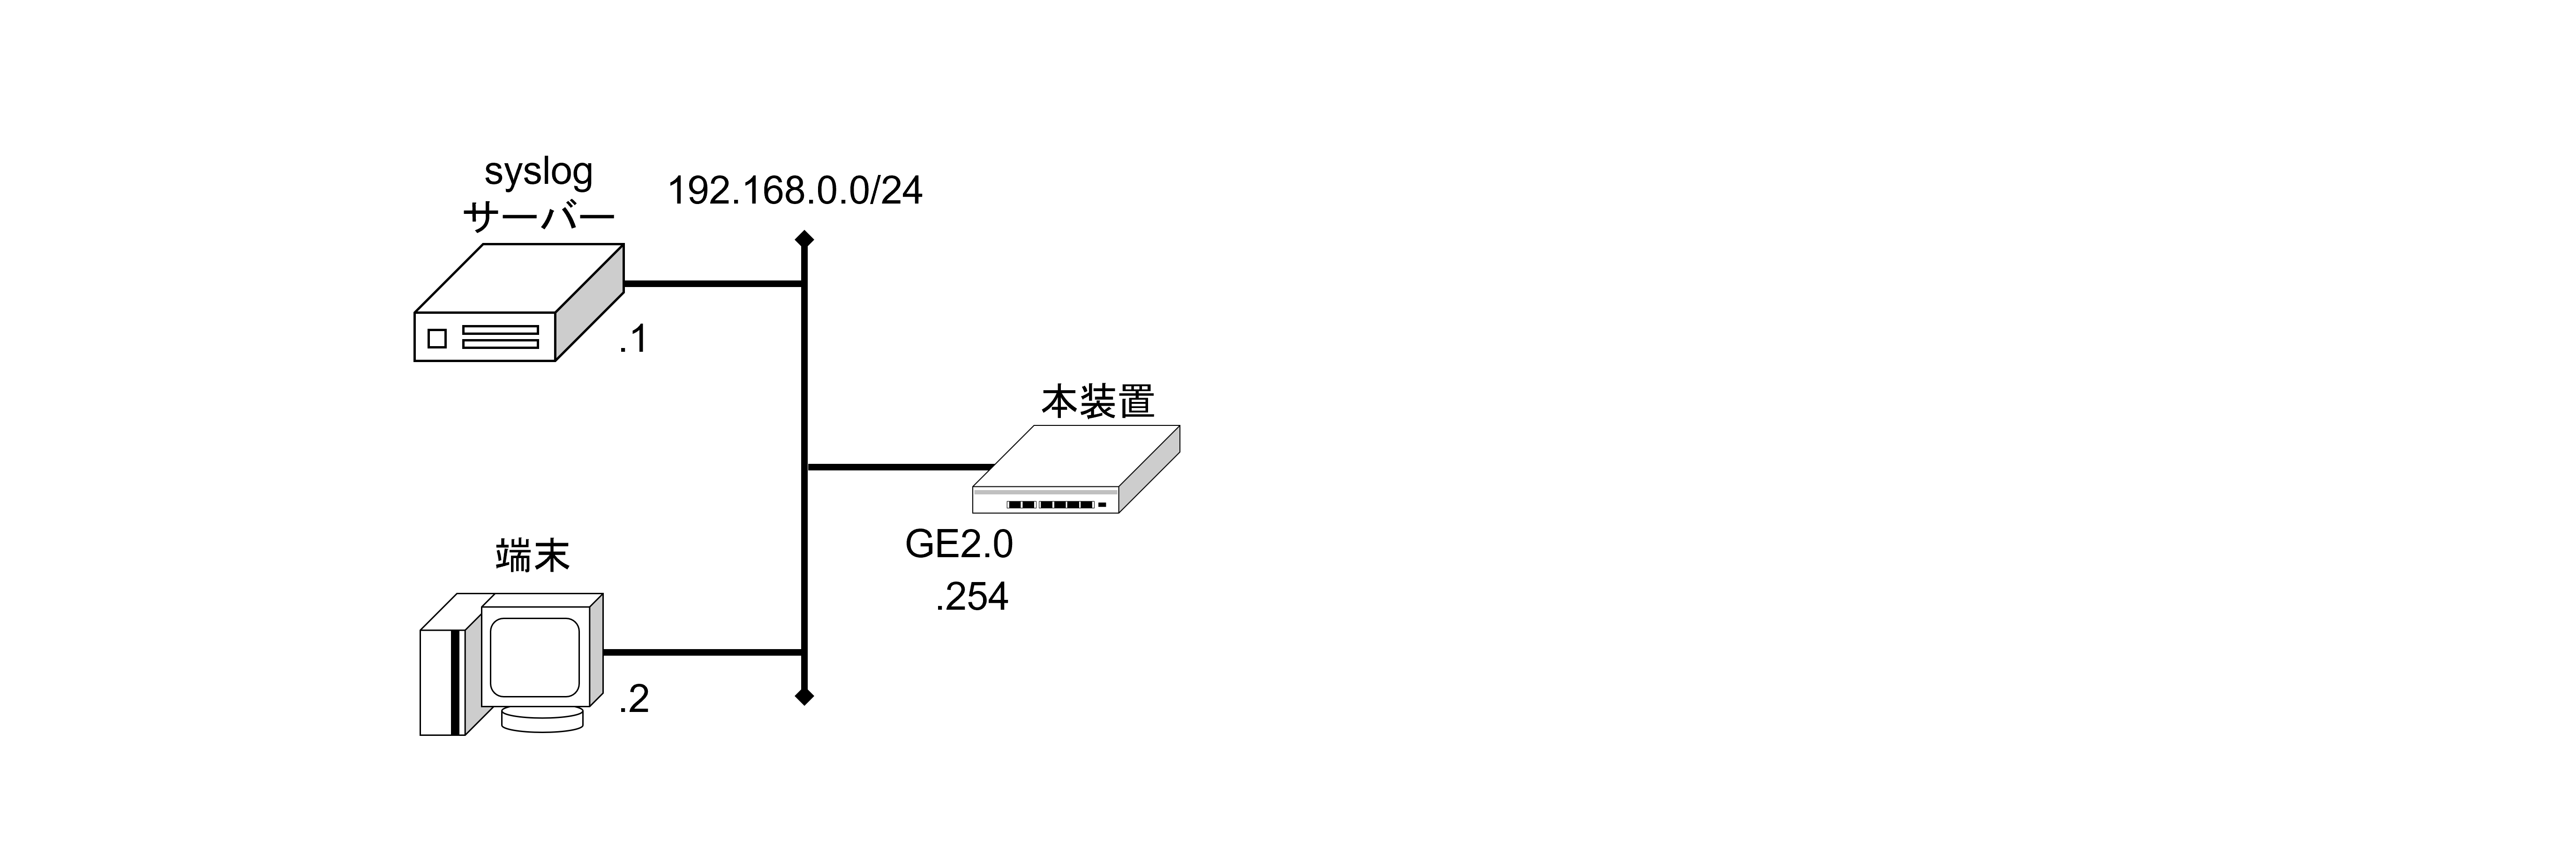
設定
本装置の設定
Router# configure
Router(config)# syslog enable
Router(config)# syslog function all warn
Router(config)# syslog ip host 192.168.0.1
Router(config)# interface GigaEthernet2.0
Router(config-GigaEthernet2.0)# ip address 192.168.0.254/24
Router(config-GigaEthernet2.0)# no shutdown
Router(config-GigaEthernet2.0)# exit
Router(config)#
解説
syslog enable
syslog function all warn
ログ取得(取得する機能 all 、取得レベル warn )の設定です。
syslog ip host 192.168.0.1
syslogサーバーの宛先IPアドレスを設定します。
14.3. SNTPクライアントを使用する
NTPサーバーに時刻同期を行います。
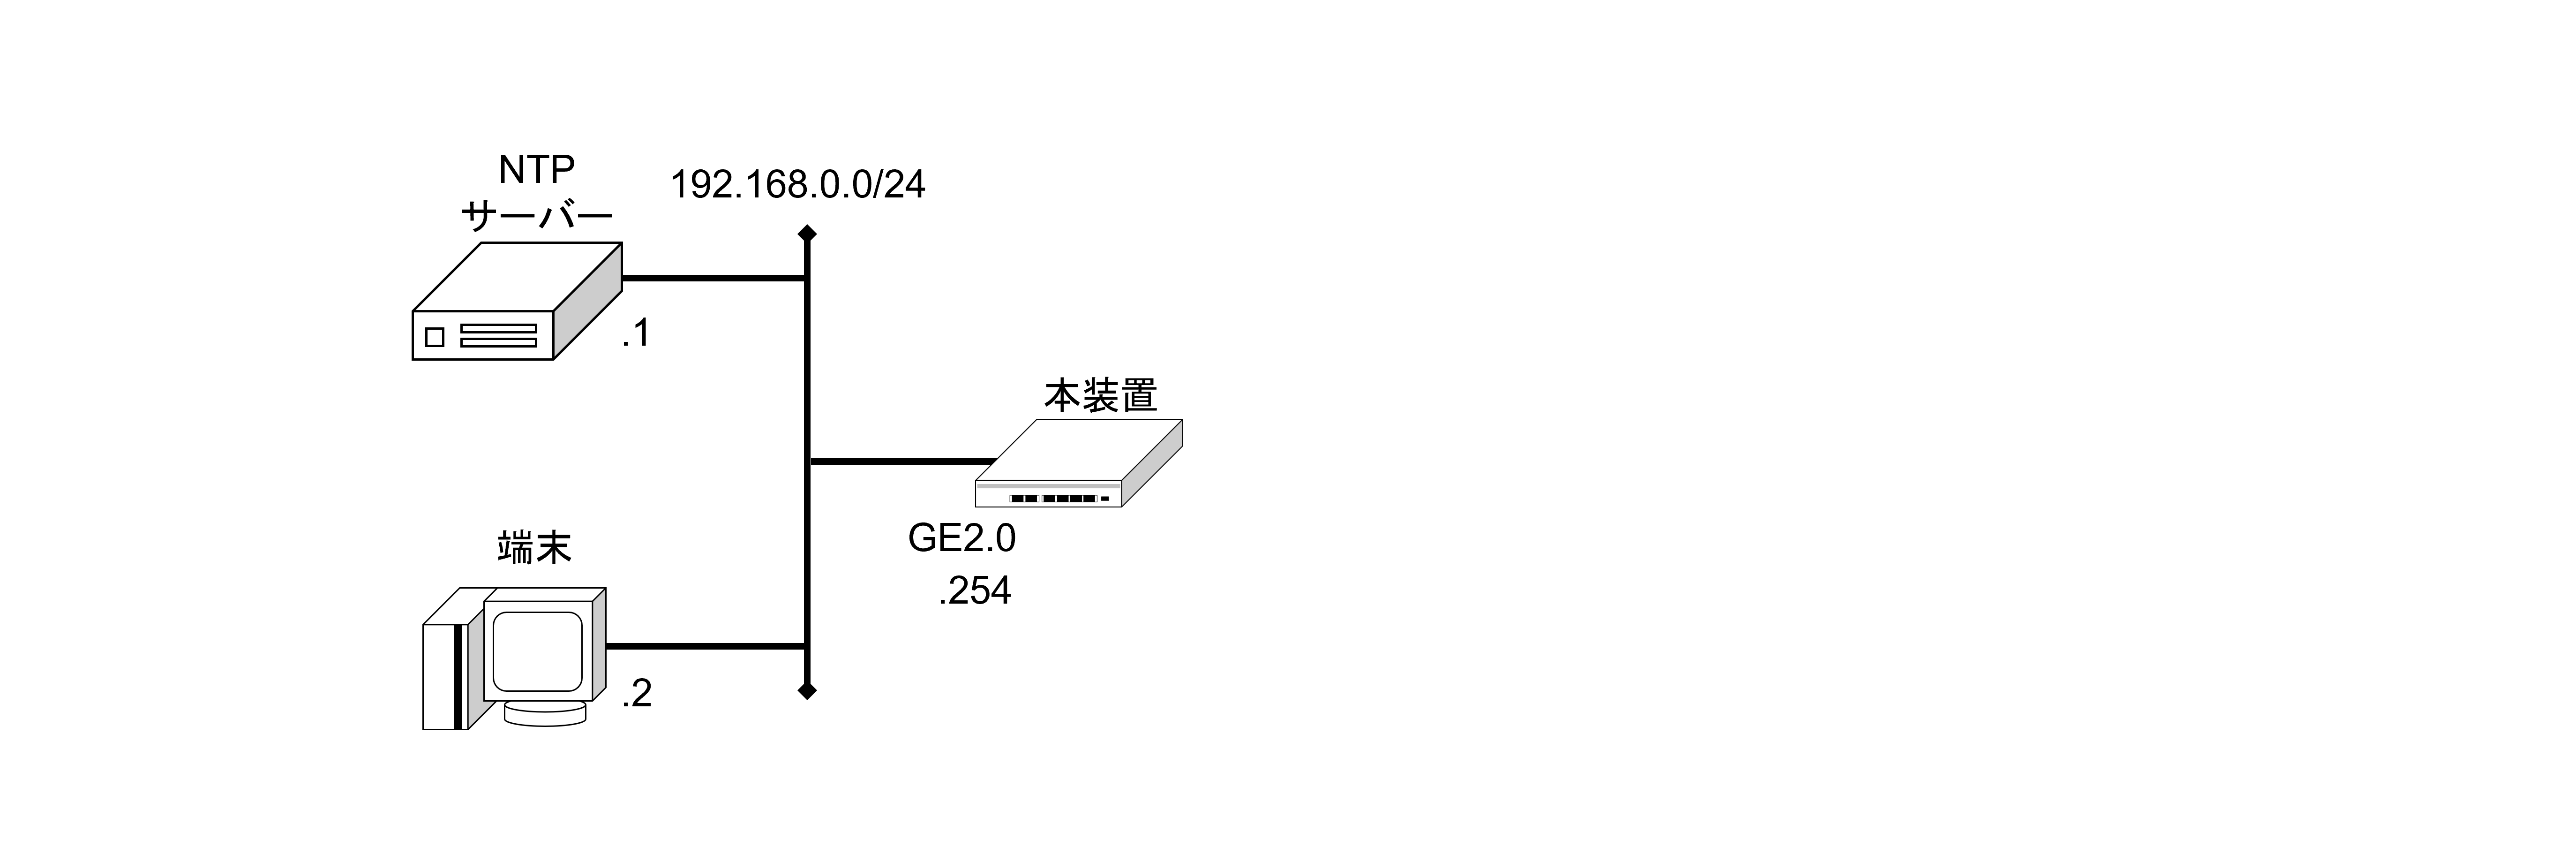
設定
本装置の設定
Router# configure
Router(config)# ntp server 192.168.0.1
Router(config)# interface GigaEthernet2.0
Router(config-GigaEthernet2.0)# ip address 192.168.0.254/24
Router(config-GigaEthernet2.0)# no shutdown
Router(config-GigaEthernet2.0)# exit
Router(config)#
解説
ntp server 192.168.0.1
NTPサーバー、もしくはSNTPサーバーのアドレスを指定します。
14.4. ポートモニターを使用する
ポートモニター機能を使って、本装置のSW-HUBポートで送受信したトラフィックを別のSW-HUBポートにミラーリングできます。
本例では、SW-HUBポート内のポート1で送受信したパケットをポート4にミラーリングします。

設定
本装置の設定
Router# configure
Router(config)# device GigaEthernet2
Router(config-GigaEthernet2)# port 1 mirror-port 4 both
Router(config-GigaEthernet2)# vlan-group 4 port 4
Router(config-GigaEthernet2)# exit
Router(config)# interface GigaEthernet2.0
Router(config-GigaEthernet2.0)# ip address 192.168.0.254/24
Router(config-GigaEthernet2.0)# no shutdown
Router(config-GigaEthernet2.0)# exit
Router(config)#
解説
device GigaEthernet2
  port 1 mirror-port 4 both
  vlan-group 4 port 4
モニターポートをポート
1、ミラーポートをポート 4、モニターするトラフィックの方向を both (双方向)に設定します。ミラーポートに設定したポート
4 を、モニターポートとは別のポートVLANに設定します。